Publish your first pipeline model
Quickly build and run models that can use any other Replicate model.
Table of contents
Pipeline models are a new kind of Replicate model that can run other Replicate models.
This quickstart guide will walk you through creating your first pipeline model.
For a more detailed explanation of pipeline models, see the pipeline models documentation.
What are we building?
In this quickstart, you’ll create a pipeline model that chains together multiple existing models to generate high-quality images from a text prompt.
Your pipeline model will combine the following models:
- anthropic/claude-4-sonnet will take the user’s text prompt and enhance it.
- black-forest-labs/flux-schnell will generate an image from the enhanced prompt.
- topazlabs/image-upscale will upscale the generated image to a higher resolution.
Prerequisites
- A Replicate account
- A web browser ⚡️
Step 1: Create a pipeline model
You can create pipeline models from the web or develop them locally using Cog. In this guide, we’ll use the web editor.
Go to replicate.com/pipelines/create to create a pipeline using our web editor.
Paste the following code into the editor, replacing any existing code:
import replicate
from cog import Input, Path

claude = replicate.use("anthropic/claude-4-sonnet")
flux_schnell = replicate.use("black-forest-labs/flux-schnell")
topaz_upscale = replicate.use("topazlabs/image-upscale")


def run(
    prompt: str = Input(
        description="Text prompt for image generation"
    )
) -> Path:
    # Step 1: Enhance the prompt
    enhanced_prompt = claude(
        prompt=f"Enhance this image prompt with more vivid details, lighting, and style:\n\n{prompt}"
    )

    print(f"Original prompt: {prompt}")
    print(f"Enhanced prompt: {enhanced_prompt}")

    # Step 2: Generate image
    generated_image_url = flux_schnell(
        prompt=enhanced_prompt,
        aspect_ratio="1:1",
        go_fast=True,
        num_outputs=1
    )[0]

    print(f"Generated image URL: {generated_image_url}")

    # Step 3: Upscale the generated image
    upscaled_image_url = topaz_upscale(
        image=generated_image_url,
        scale=2
    )

    print(f"Upscaled image URL: {upscaled_image_url}")

    return upscaled_image_url
Step 2: Run the model
Believe it or not, those ~40 lines of code are all you need to create a pipeline model.
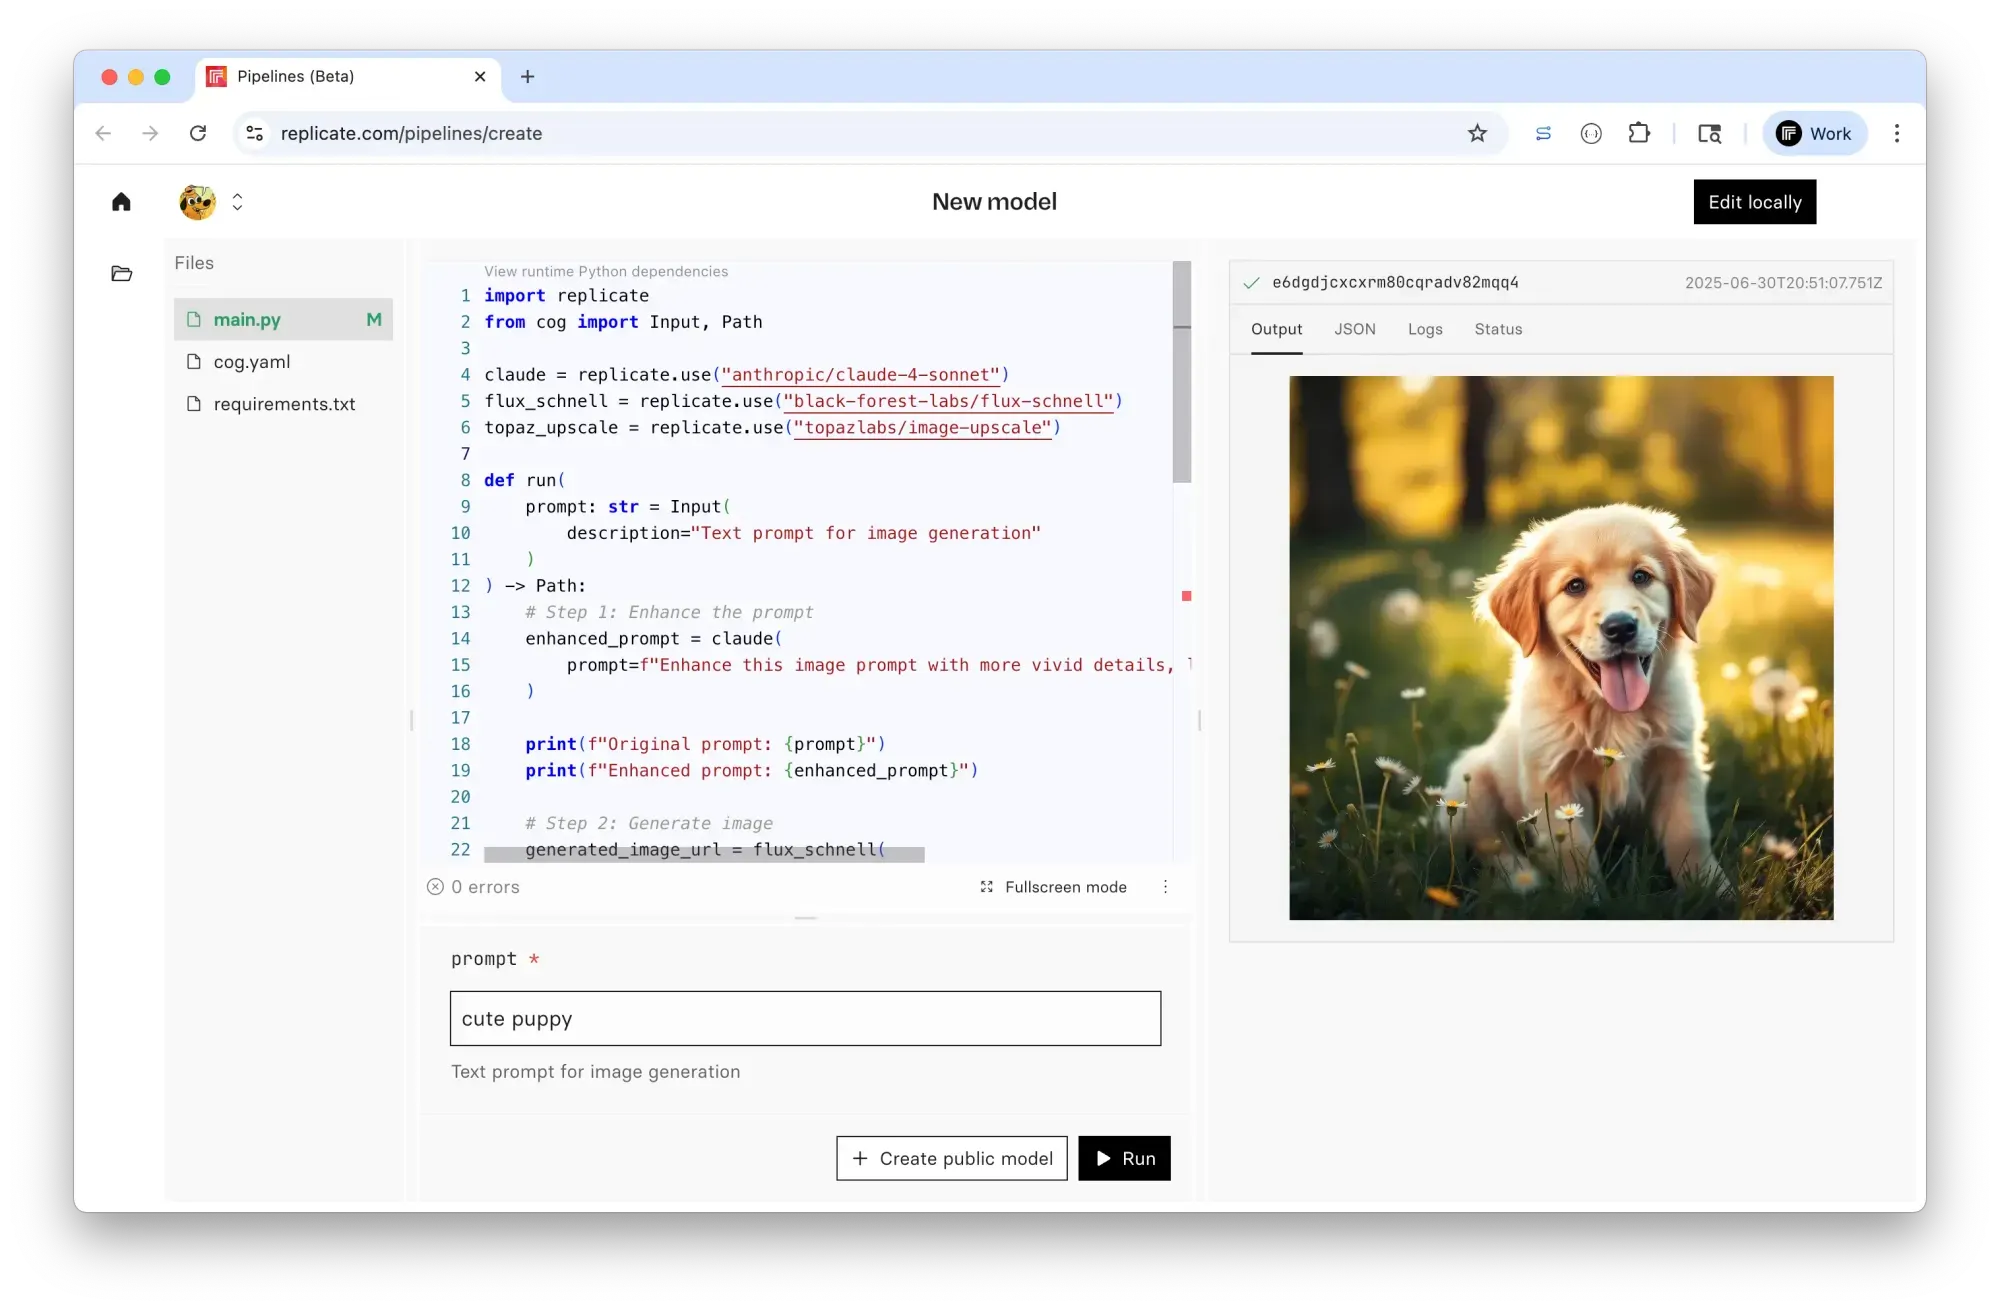
Now that you’ve added your model code, let’s run the model and see some output.
Enter a text prompt and click the Run button to run the pipeline model.
You’ll see a screen like this:
Step 3: Publish the model
Now that you’ve created your pipeline model, it’s time to publish it to Replicate.
Click the Create public model button to publish your model.
Choose a name for your model like make-fancy-images, and click Create public model.
From here you can keep iterating on your model, or copy the URL and share it with your team.
Next steps
That’s it! You’ve created and run your first pipeline model.
Now you can start building more complex models by adding more models to your pipeline, or by adding your own custom code.
- Continue developing your model locally in your preferred code editor.
- Explore dozens of pipeline model examples to get ideas for your own models.
- Read the pipeline models documentation to learn more.