Craft generative AI workflows with ComfyUI
Table of contents
ComfyUI is a simple yet powerful Stable Diffusion UI with a graph and nodes interface. You can use it to connect up models, prompts, and other nodes to create your own unique workflow.
It has quickly grown to encompass more than just Stable Diffusion. It supports SD, SD2.1, SDXL, controlnet, but also models like Stable Video Diffusion, AnimateDiff, PhotoMaker and more.
In this guide we’ll walk you through how to:
- install and use ComfyUI for the first time
- install ComfyUI manager
- run the default examples
- install and use popular custom nodes
- run your ComfyUI workflow on Replicate
- run your ComfyUI workflow with an API

Install ComfyUI
ComfyUI can run locally on your computer, as well as on GPUs in the cloud.
If you’re on Windows, there’s a portable version that works on Nvidia GPUs and CPU. You can download it from the ComfyUI releases page.
Alternatively you can manually install it. Start by cloning the ComfyUI repository and installing the python dependencies.
You can run this in your terminal:
git clone https://github.com/comfyanonymous/ComfyUI

# Optional: You might want to use a virtual environment
cd ComfyUI
python -m venv venv
source venv/bin/activate

# Install ComfyUI dependencies
pip install -r requirements.txt
Start ComfyUI:
python main.pyThere are more detailed instructions in the ComfyUI README.
ComfyUI vs Automatic1111 (A1111)
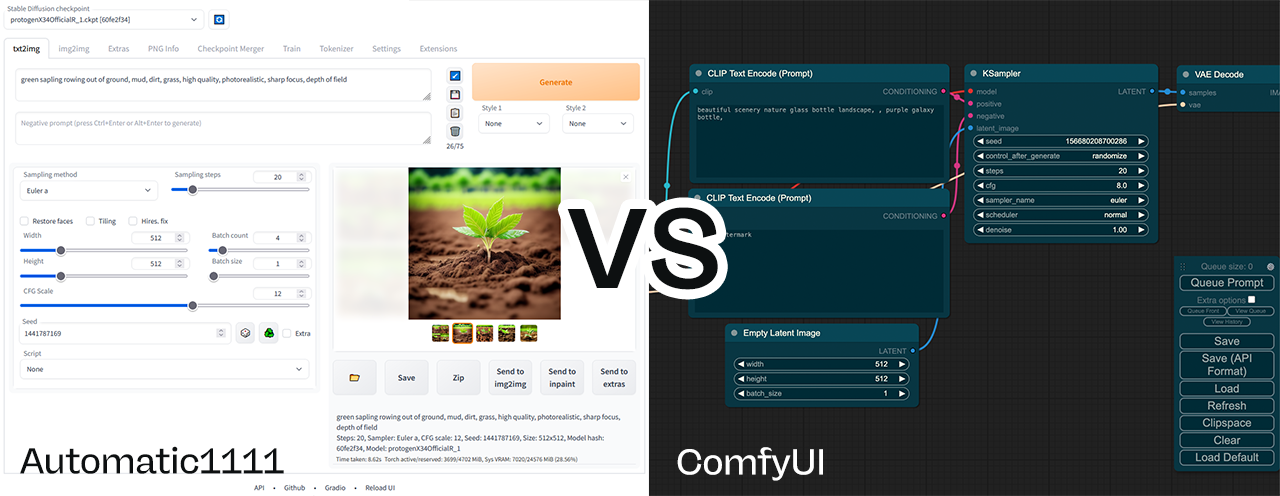
ComfyUI and Automatic1111 (sometimes also called A1111 or stable-diffusion-webui) are the two most popular Stable Diffusion UIs, and they both have their strengths and weaknesses.
If you just want to make images and see results quickly then Automatic1111 is the best choice. It's a Gradio based interface with many options and plugins. But you can load up a checkpoint, set a prompt and get going. Fooocus is also another good choice for this.
ComfyUI is more powerful and flexible, but it has a steeper learning curve. If you want to explore ControlNet, AnimateDiff, IPAdapters, noise scheduling, prompt walking, and novel workflows using newly released models and tools, then ComfyUI is worth learning.
Use ComfyUI if you like to experiment.